Those of you who know Bronwyn's work will be interested in a little more insight into her life. She's been very kind and given us a lovely Christmas stitchery as well!!! Here is Bronwyn's story.
"My business is based in Canberra in the A.C.T.- home of the public servant, the Mint, the War Memorial, Questacon and the National Gallery to name but a few of the icons we've all come to Canberra to see either in the holidays or on school excursions.
That was also my first introduction to Canberra-
It was the move to Canberra
Having started a small graphic design business a couple of years before, providing graphics, signage and 3D displays to businesses where I lived- it wasn't until the move to Canberra brought me in contact with a business that needed graphics and designs for sewing and patterns, that I discovered the world of quilting and embroidery. And .. well.. it's just gone from there.
The business has grown over the years to include not only stitching, but quilts , bags, aprons, purses - you name it! Whatever I can think of. Usually featuring my signature Red Brolly Girls and Brutus the Cat designs.

Always work from the centre of the design you're stitching and stitch to one side first then the other. (Follow this rule for uneven shapes- but for oblongs or squares- start at one end of the shape and work across.)

1. Bring your needle to the front of the fabric at A, take it to the back at B and up again at A.
2. Work one side of the design in this way until you reach the end of the design.
3. Take the needle back to the centre again and work the other side of the design in the same manner.
Finish at the back with some tiny overlapping stitches to hold.

(A note from Jan&Cath...to print...right click on pic; save to computer then print)
If I'm not working in the business my favourite thing to do is read- magazines mainly as you can get a lot of information from them quickly. Or doing the gardening. Tending to my stunning array of weeds. After eleven years of drought- that's all that's survived.
In the next ten years I'm hoping to move the business more into graphics- that's the part I've always enjoyed doing- more cards and stationery items as well as the patterns and books. Hopefully! Like my favourite designers, Mary Engelbreit and Susan Wingett!"
Our thanks to Bronwyn for her story and she can be found at
www.red-brolly.com where there is a link to her blog and Facebook.Cath is showcasing her graphics this post.
 #1
#1 #2
#2 #3
#3This month I thought I would offer something different in the way of patterns. I have put my graphic printables up for sale........ These are sticky note holders. You print them out, laminate them and then using double sided tape, attach a sticky note pad where the space is. You can also add a magnetic strip to the back and attach the note book to the fridge.
These printables will be e mailed to you. They will be clean... which means my company name will not be across the picture. I have drawn and designed these printables and they are $3 each. Just remember to say which one you would like when buying... 1 2 or 3....... Or buy all three for $7.........
My super special item for this post is another printable........ This time we have a set of cute tags... All you have to do is print them out and laminate them. Then they are ready to attach to your favourite things...... They will also come to you as a clean set ready for you to print and will be e mailed to you.

These are on for the fantastic price of $2 for the set of 4 tags. Also anyone who buys all three note book holders and the tags will receive a free siggy tag...... It will be a cute Raggedy or Teddy with your name underneath and you can add them to the end of all your emails...... soooo cute........
This face is for a Raggedy and I have used the tear drop eye.

You will need Jo Sonja folk art paints. White, Black and a colour for the nose. If you want a red nose use Brow Madder.
Two paint brushes are used... a #3 round brush and a 5/0 liner or script brush.
This is an easy face to draw. Remember just like on the human face the eyes are in the centre of the face. If they are too high the face will not look as cute. On my patterns I draw the faces onto the doll head pattern. Once you have traced around the head of the doll you can take the fabric turn it to the other side and then place it back on top of the pattern. Make sure you line up the edges of the head and then using a light box you can trace the face in the correct position. When you use the light box it is easy to see where you have traced the head shape and easy to line it up with the paper pattern. Then you turn the fabric back to the side with the head shape drawn and sew around the head shape. Making sure that the fabric is double. If the head is one that is sewn all around and a slit cut in the back to turn it through, make sure that when you cut the slit that you don't cut the side you have traced the face onto. I paint my doll's faces after I have stuffed and sewn them together.
Using the #3 round brush and black paint fill in the eyes. Let the paint dry. Taking the liner brush and the white paint which you have thinned down a little with some water. Paint the white line down one side of each eye. Dot two small spots in each eye. Place them on the same sides, otherwise the doll may look a little cross eyed.
To paint the eye lashes, eye brows and mouth you use the liner brush and thinned down black paint. Practise on a scrap of fabric first. To use this brush successfully, you only paint with the tip of the bristles. If you lean the bristles over the line will become thick. We want to have hair thin lines.
Paint the nose in your chosen colour using the #3 round brush....... Take the liner brush and dip it in white paint and paint a line across the top of the nose.....
Dip the handle of the liner brush in the red paint and place a dot in the centre of the mouth.
Once the face is completely dry you can shade in the cheeks using a pastel pencil in a deep pink colour and shade around the eyes and across the nose with a light brown pastel pencil. I like to blend these into the fabric using a cotton bud.....
Your doll is now ready to admire.......
Now for Jans pattern showcase.....All for Christmas!

Christmas Tradition...... The legend of the candy cane tells that the holiday treat was first created to bring the true meaning of christmas back to the festive season. The candy cane is believed to represent the letter "J" for Jesus. Other legends state that the first candy canes had two red stripes and a white, representing the Holy Trinity. Keep with the tradition and create your own!
Pattern.......$10AUD
ePattern......$7AUD

Christmas Tree Hangers......Cute little stitcheries stitched and coloured here and there with watercolour pencils. Add some tiny rusty bells or "grungy" buttons and you have a great collections of tree ornaments to adorn your Christmas tree.
Pattern.....$10AUD
ePattern.....$7AUD

Christmas Years..... Each year I make a Christmas pillow to celebrate the season. They add a great touch to your decorating. Tumble them into an interesting cane basket and start your own tradition by adding one each year. Made with various cotton fabrics, flannels, as well as my favourite - felted wool.
Pattern.....$10AUD
ePattern.....$7AUD

Christmas Carol is my special for this post. My Christmas take on the old fashioned what-nots. Stitch the words from three carols matching their shape and mount them on a simple wooden base.
ePattern only.....$5AUD
Now a free stitchery for you. The first of five that will be featured on our blog over a period of time. Cups of Kindness is a collection of teacups filled with flowers for you to stitch, either in colour or it also looks super stitched in red or blue. Do the usual, right click, save to your computer and print but if you have trouble email me on ozjan51@hotmail.com and I will send it to you.

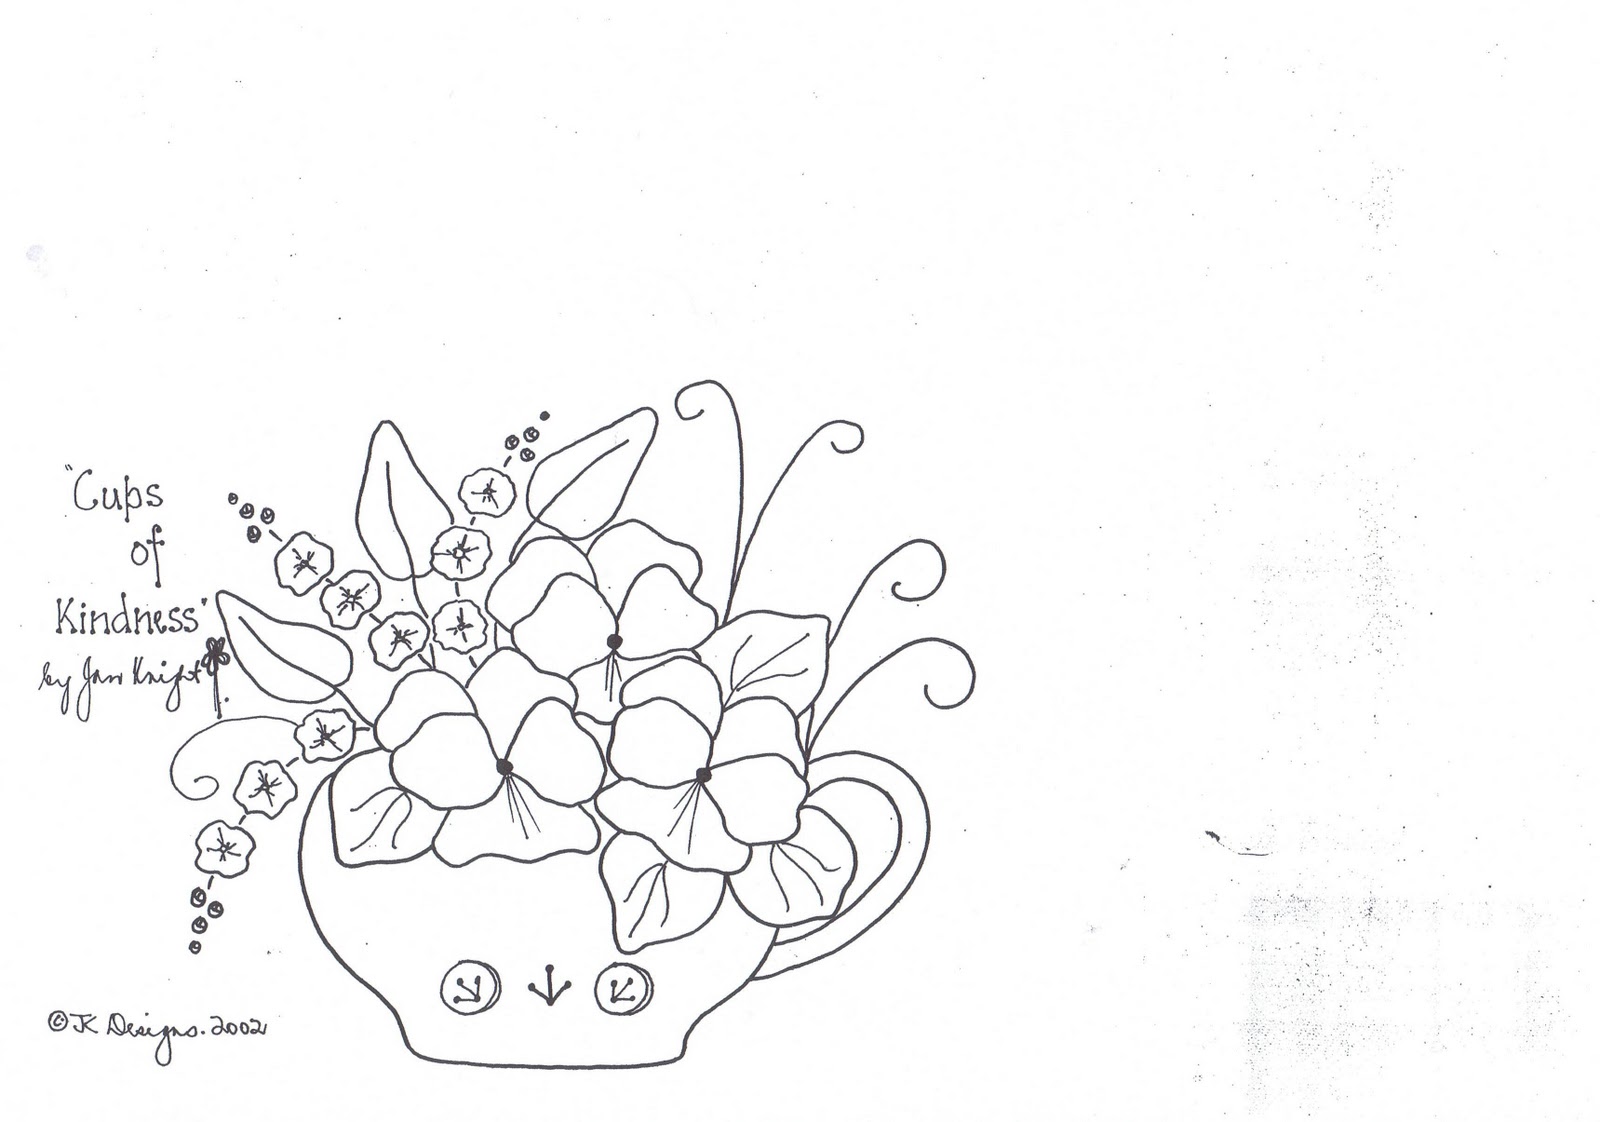
Ooops! Thanks to my darling daughter who has no real interest in stitching, BUT, faithfully reads our blog every time. She noticed I hadn't attached the stitchery design for you so THANKYOU sweetheart! I hope no one missed out on it! Ü
That's it for this post! Hope you have enjoyed reading about Bronwyn, use Cath's tutorial to paint some interesting faces and enjoy stitching Cups of Kindness. Until next month, happy stitching from,

thanks for the useful tutorial on satin stitch, esp. the working from centre outward.
ReplyDeleteAs always a lovely entry, looking forward to the next already! no pressure then! ha-ha!
Happy stitching to both of you.
Sue xx